Building a new home is a long process, and most of the work that decides how well it performs disappears from view as the build goes on. Once the concrete is poured or the plasterboard goes up, what’s underneath is hidden for the life of the home. Knowing what happens at each stage — and what’s worth checking before it’s covered — is one of the best protections a homeowner has.
This guide walks through the stages of a new build, illustrated with a recent St Kilda project designed by Mancini Design: a three-storey home on a narrow inner-city site, designed around Passive House principles.
A note on inspections: in Victoria, your building surveyor carries out the mandatory inspections for the building permit, including before footings are placed, before reinforced concrete is poured, at frame stage, and at completion. Those are separate from anything described below.
Stage 1: Site Preparation and Early Works
Before the house itself starts, the site is set out, cleared and prepared. On a tight site, the order of work matters. On this project the pool went in first: once the slab and walls were up there would be no machine access to the rear, and building it early kept pool work separate from the main build.
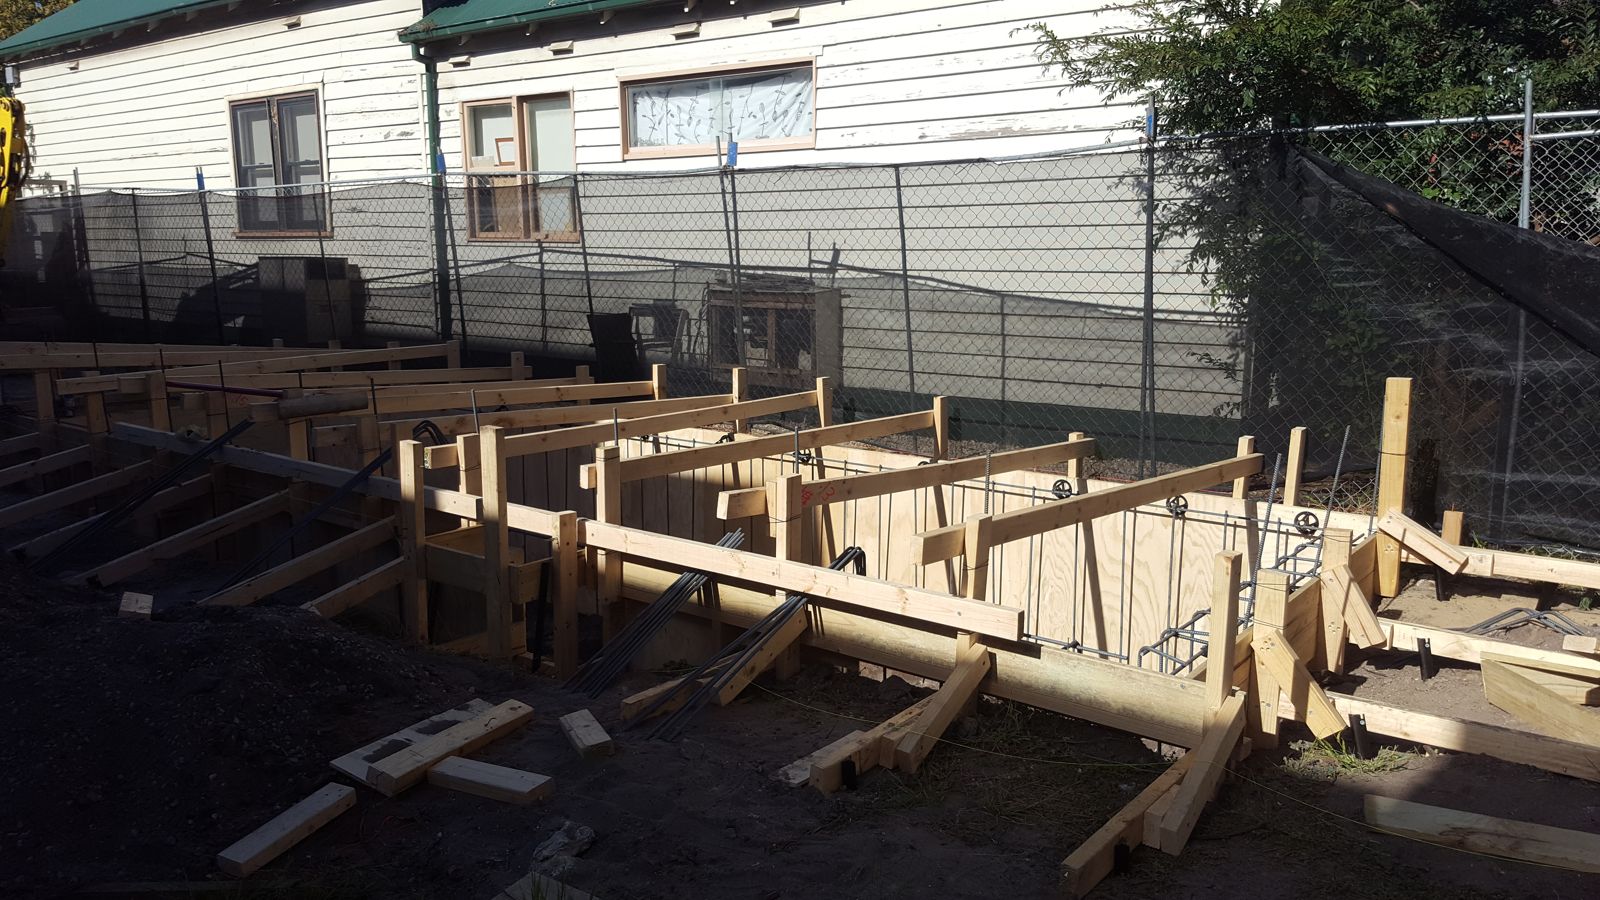
Pool formwork and steel before the pour, built right to the boundary.
Worth checking at this stage: set-out against the site plan, levels, and anything built early (like a pool) in its designed position.
Stage 2: Foundations
Foundations carry the whole house, so they’re designed around the soil the engineer finds on site. Here, galvanised screw piles were wound down to stable ground, positioned in line with the slab’s stiffening beams so the loads transfer straight into them. The beam trenches are then dug between the piles.
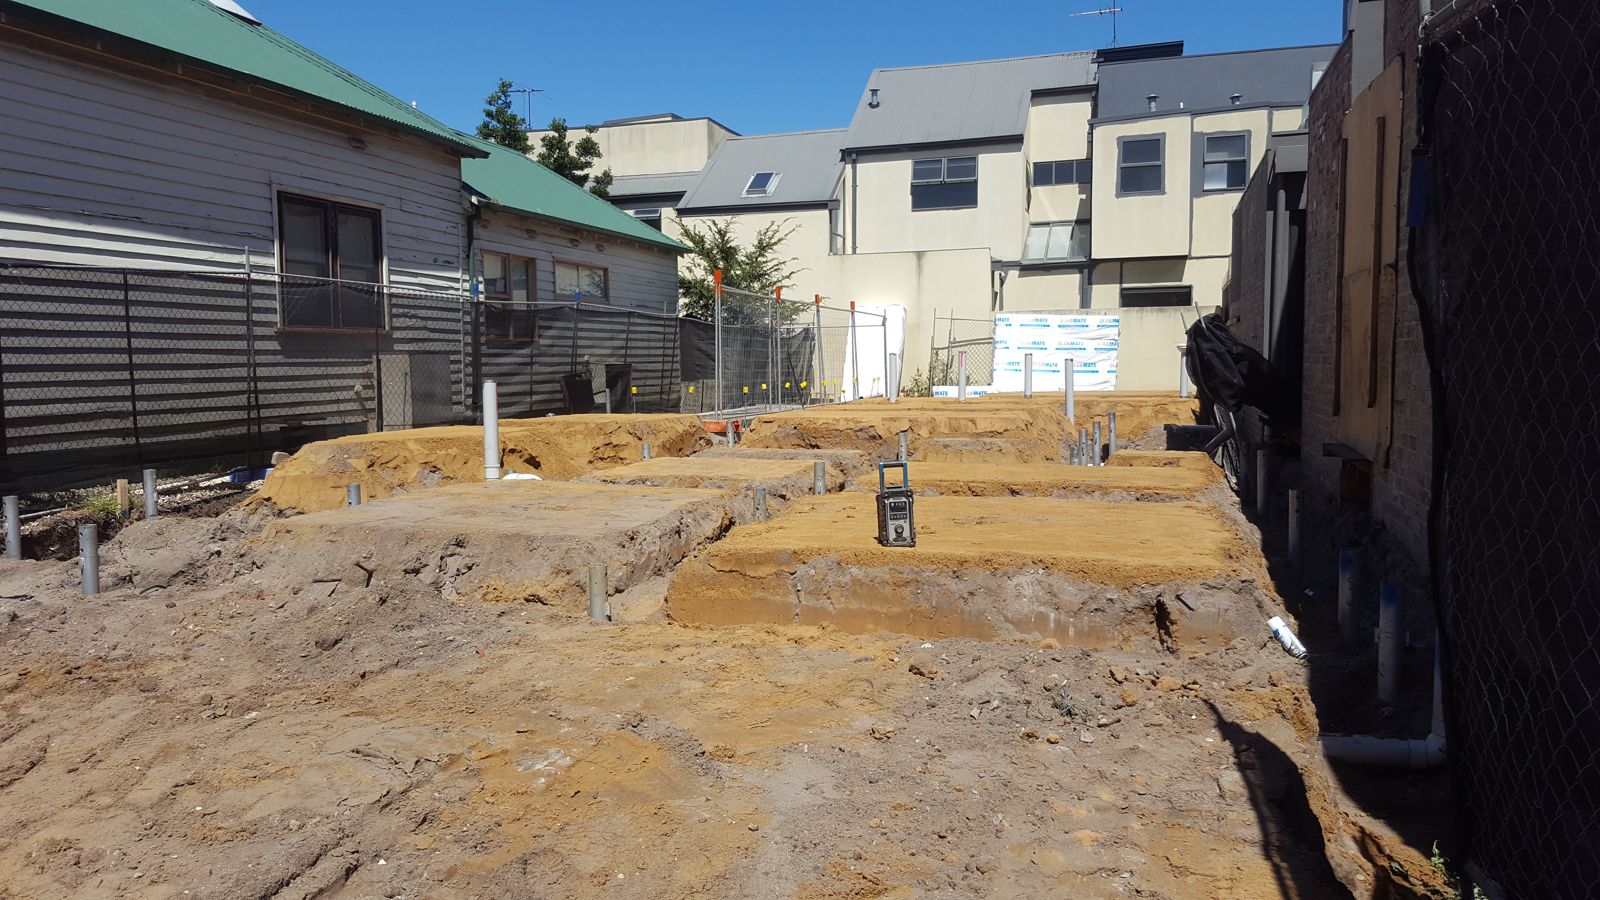
Screw pile heads with the slab beam trenches dug between them.
Worth checking at this stage: pile and beam positions match the engineering and design drawings.
Stage 3: Services, Slab and Termite Protection
Plumbing, drainage and electrical conduits go in before the slab, because once the concrete is poured nothing moves. On this project, 100 mm of rigid insulation sits under the slab — a Passive House principle that stops heat escaping into the ground — and a termite barrier is fixed around the slab edge.
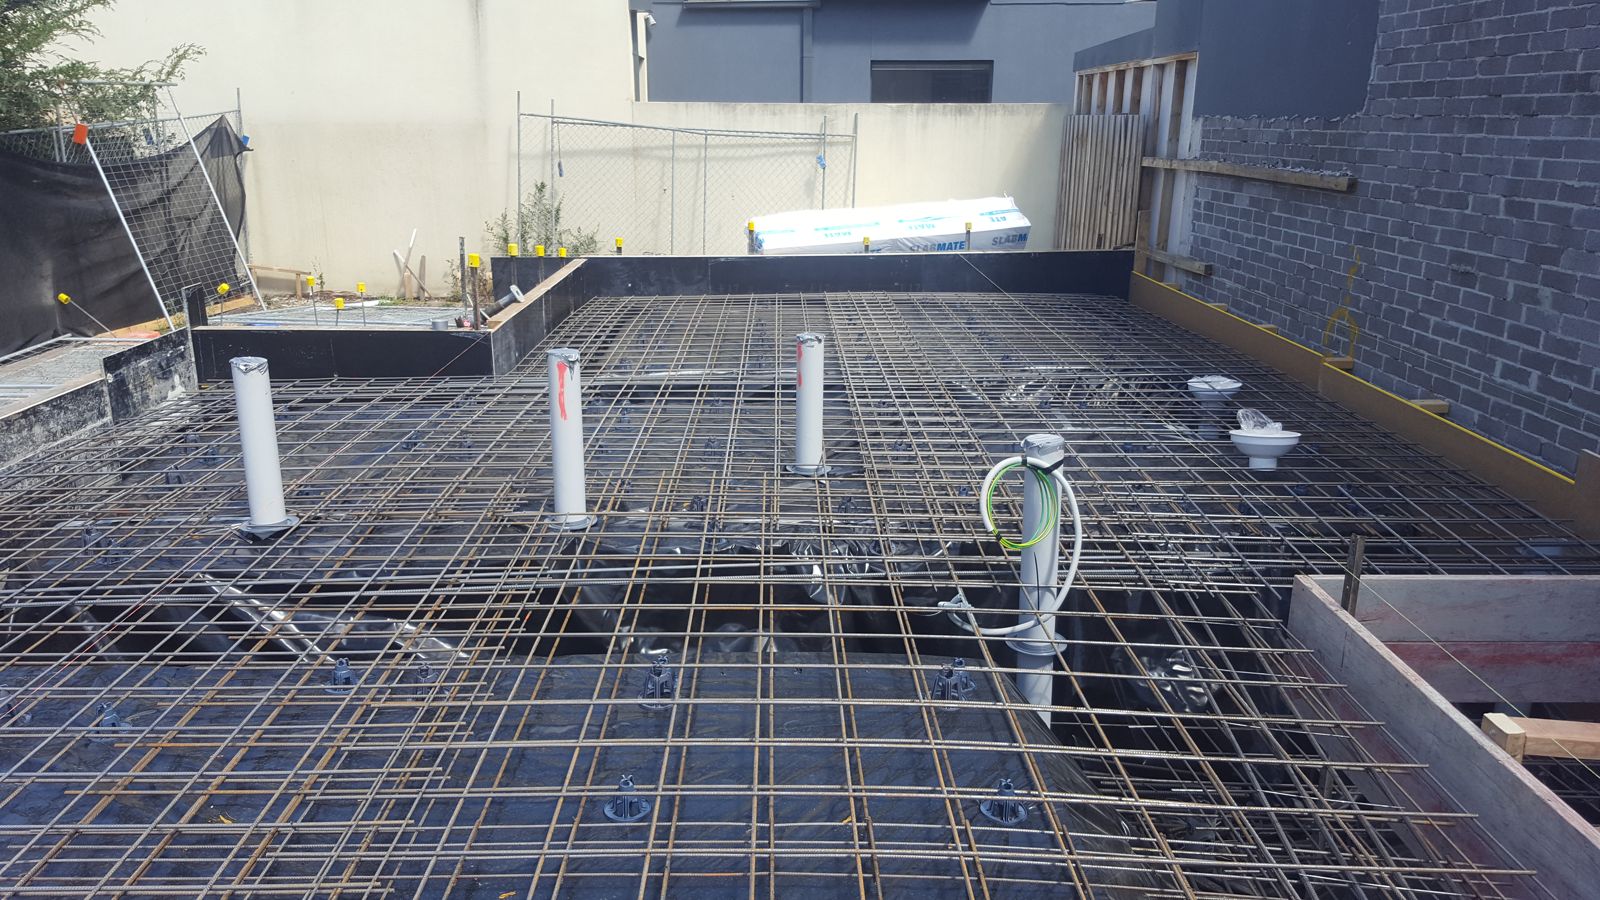
Steel, membrane and every service penetration in position, ready for the pour.
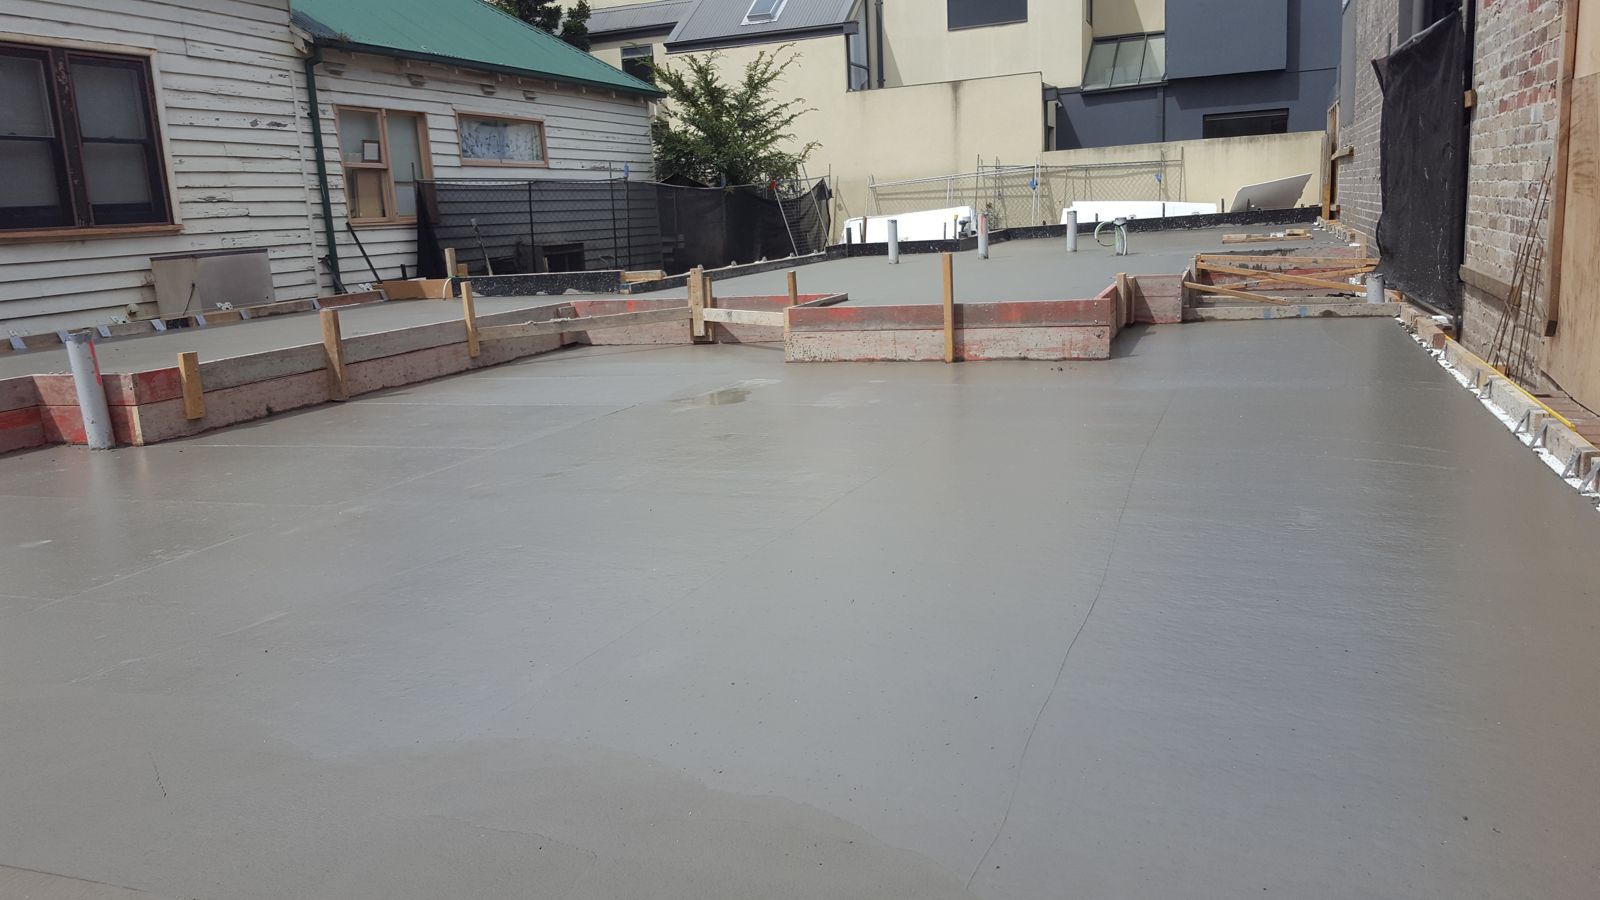
The finished slab, ready for framing.
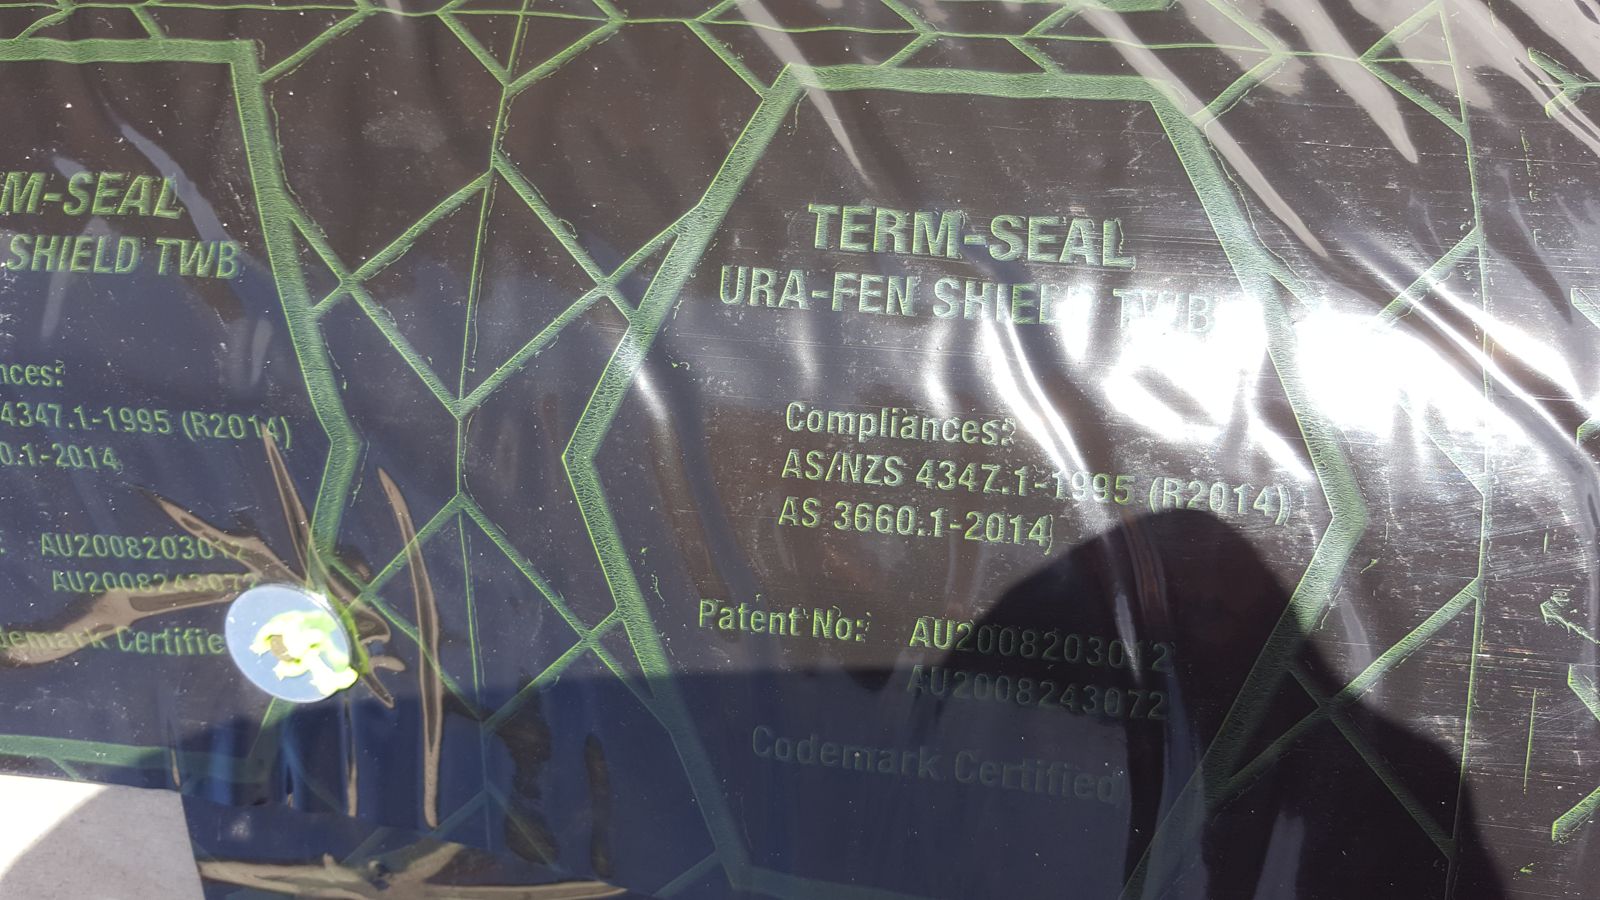
The termite barrier, hidden behind the cladding once the house is finished.
Worth checking at this stage: waste, drainage and conduit positions match the plans — moving a toilet or a floor waste after the pour means breaking concrete.
Stage 4: Frame and Structural Steel
The frame gives the house its shape. Steel is used where the spans demand it, and timber everywhere else. This is the stage where room sizes, window openings and ceiling heights become real, so it’s the last easy point to catch a layout mistake.
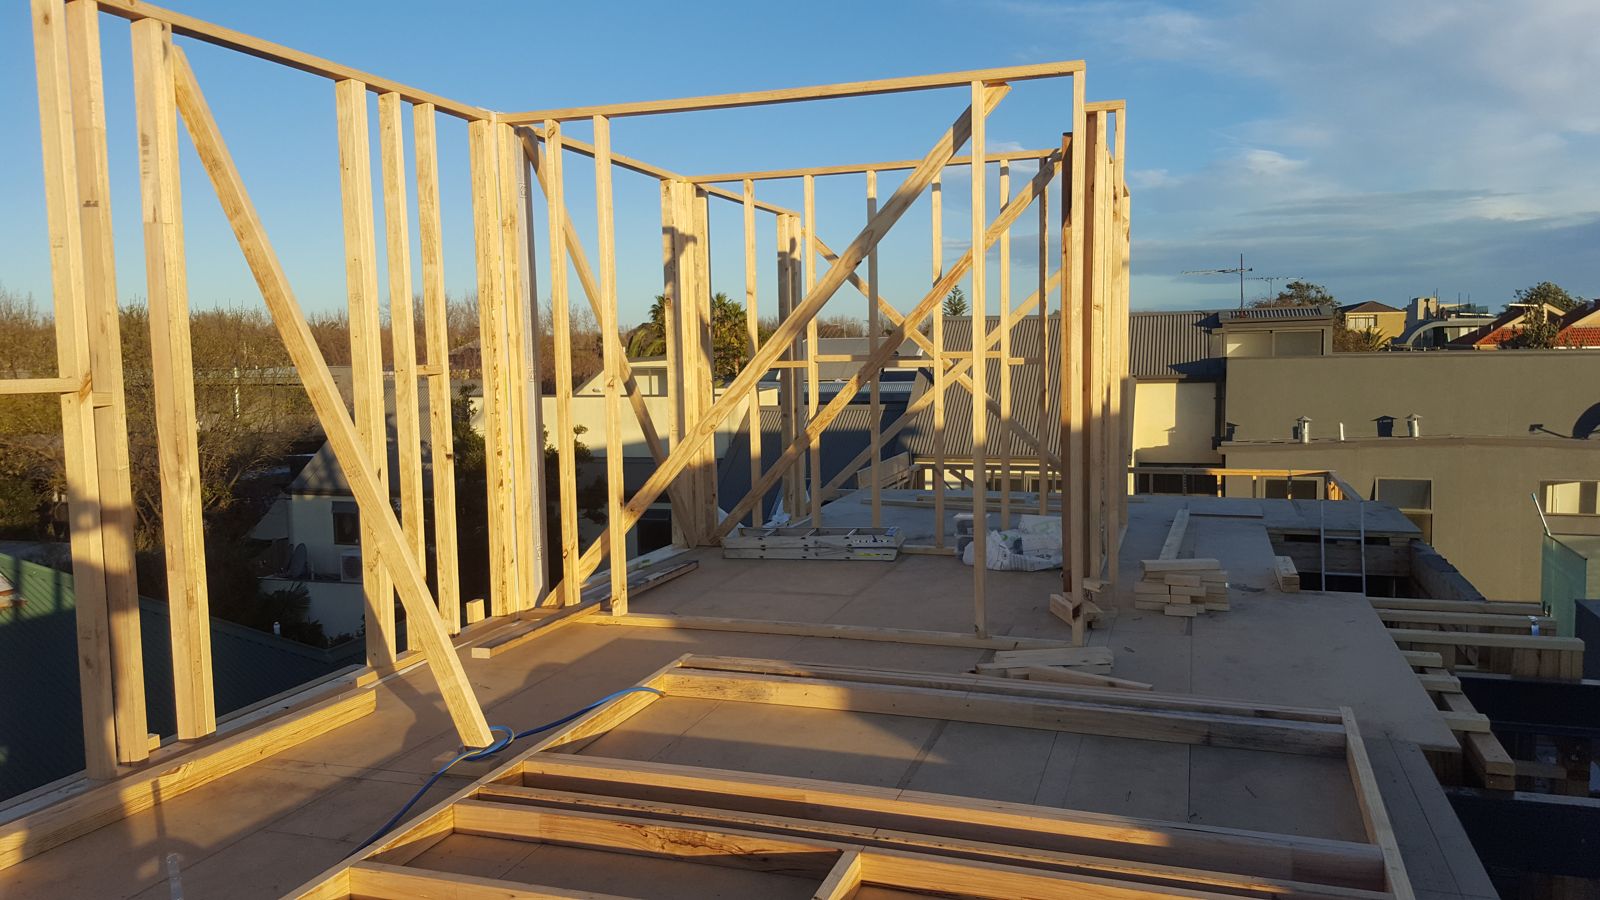
Upper-floor frames going up.
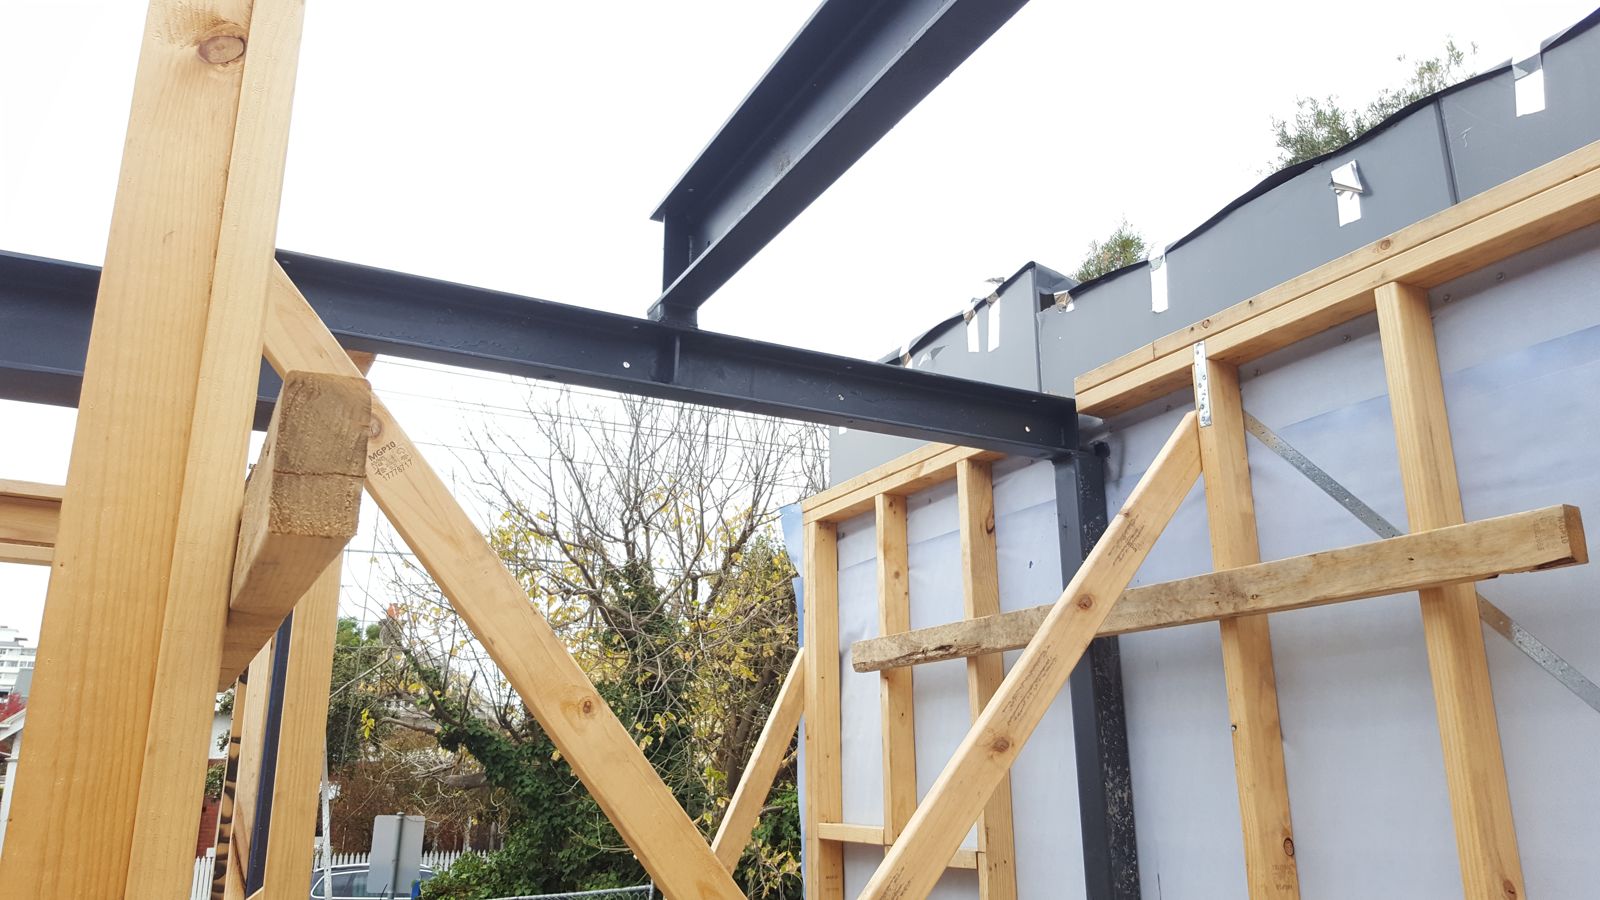
Steel beams where the spans need them, timber frames around them.
Worth checking at this stage: room sizes, opening sizes and positions, and ceiling heights against the drawings.
Stage 5: Roof, Windows and Wall Wrap
With the roof on, windows installed and the walls wrapped, the house is weathertight. The wall wrap sheds any water that gets behind the cladding, and every window needs to be sealed to it properly — this is where many leaks start.
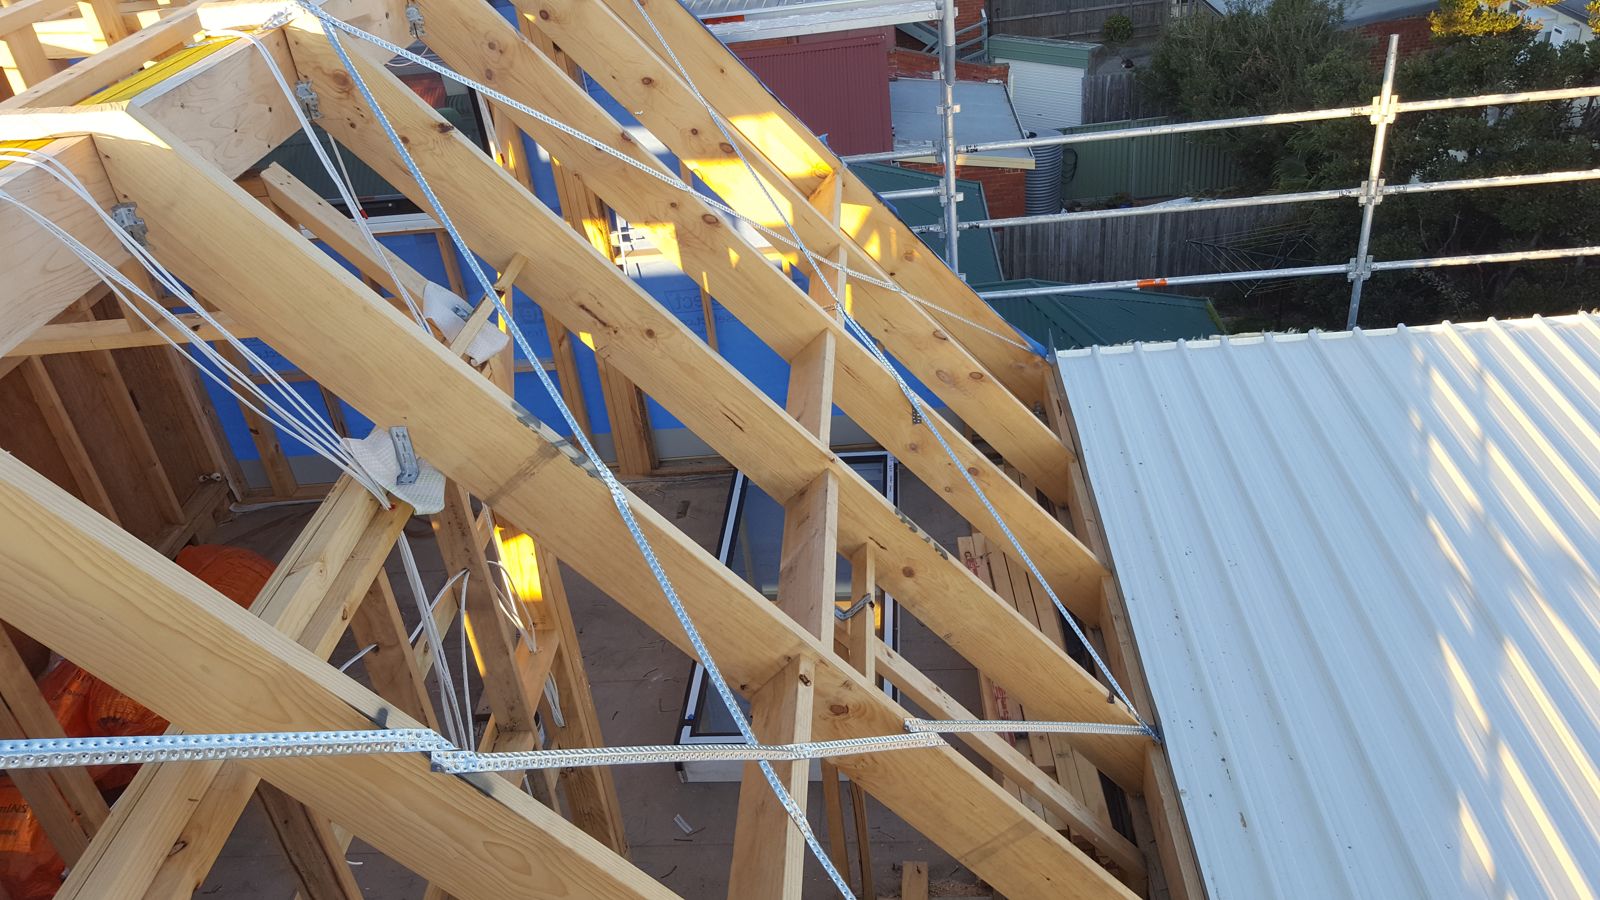
Roof framing and bracing, with the first insulated roof panel in place.
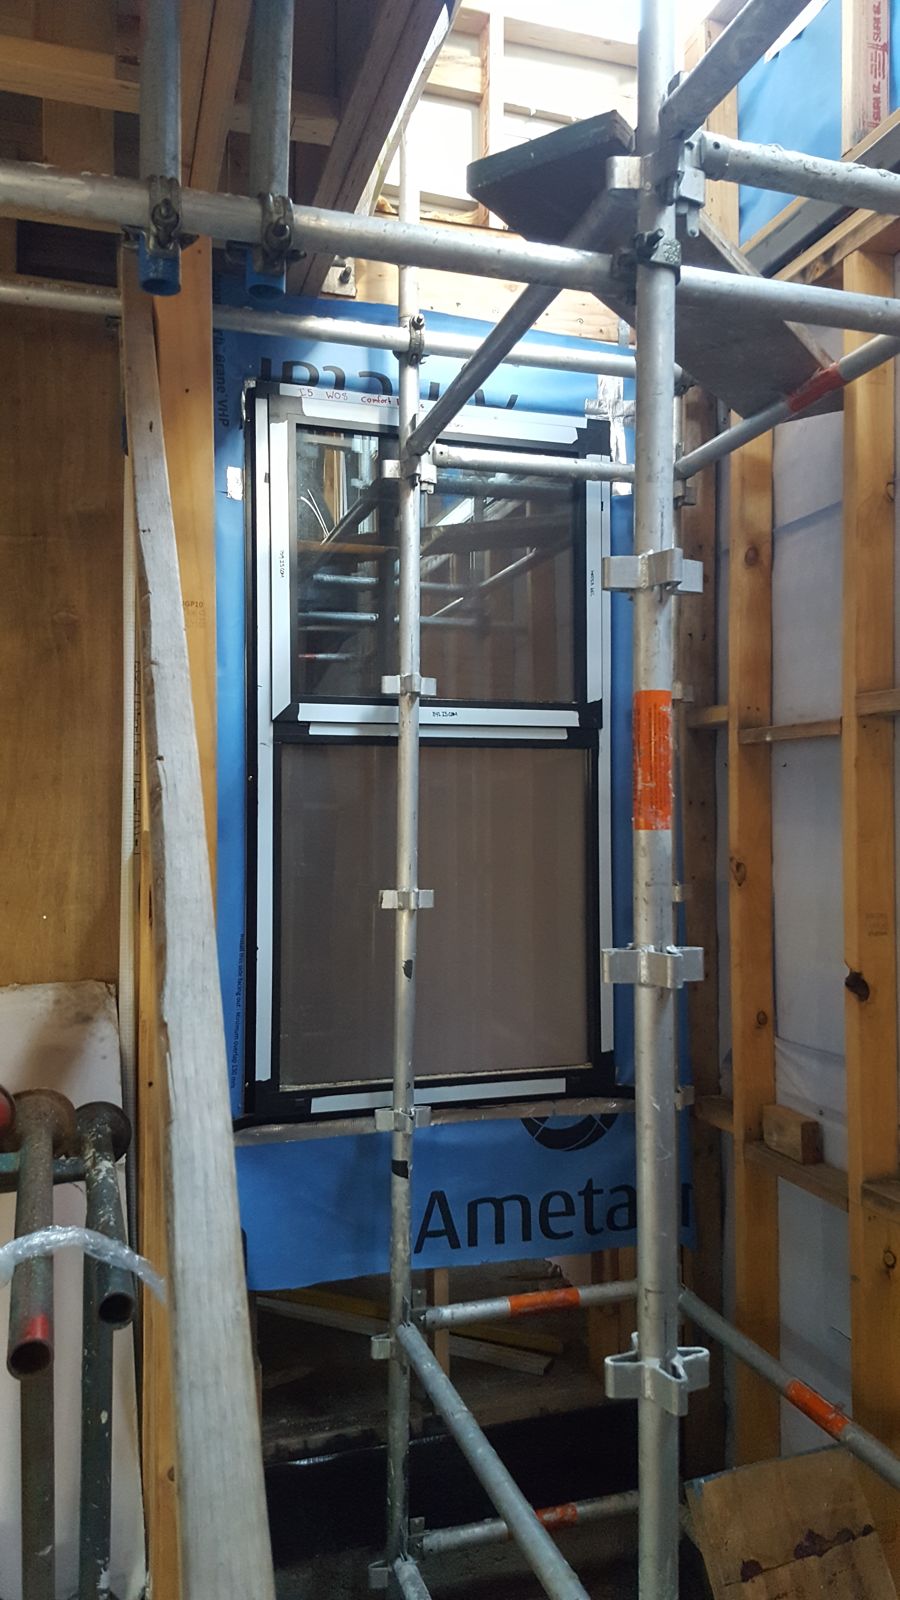
A window fitted and sealed to the wall wrap before cladding.
Worth checking at this stage: window types and sizes as specified, and the seal between each window and the wrap.
Stage 6: Airtightness, Ventilation and Services
In a home designed around Passive House principles, an airtight membrane lines the inside of every external wall and ceiling. It has to run continuously — including through the floor zones between storeys, which can only be done before the floor framing closes in. Because an airtight house needs fresh air supplied deliberately, ventilation ductwork is planned from the start, and metal battens over the membrane create a service cavity so cables and screws never puncture it.
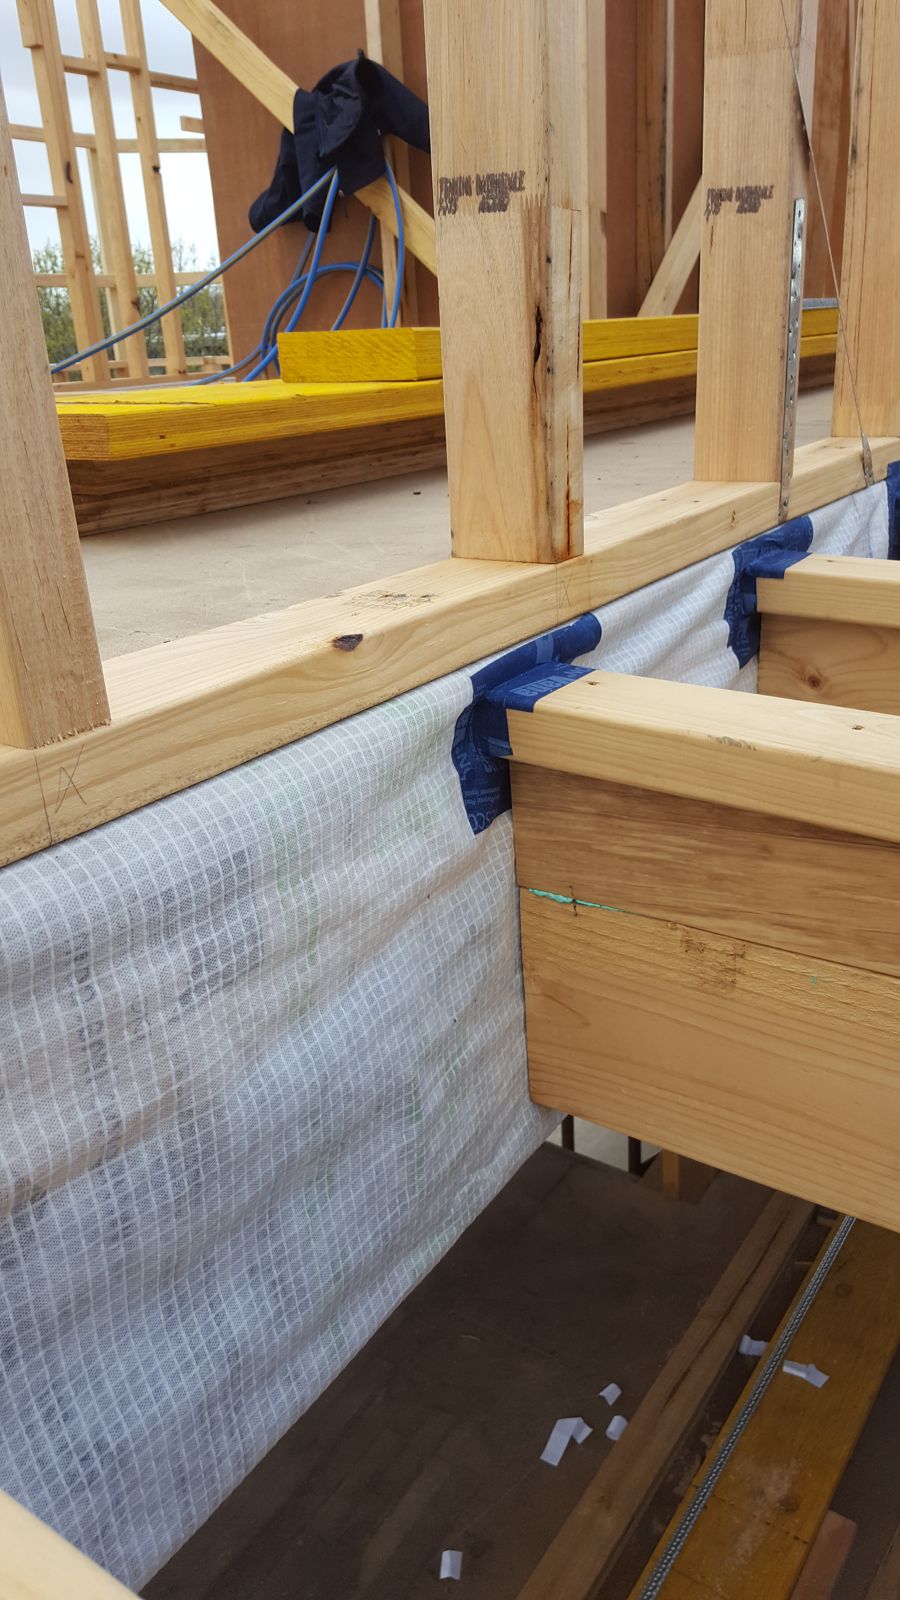
The membrane wrapped through the floor zone — impossible to reach once the joists are in.
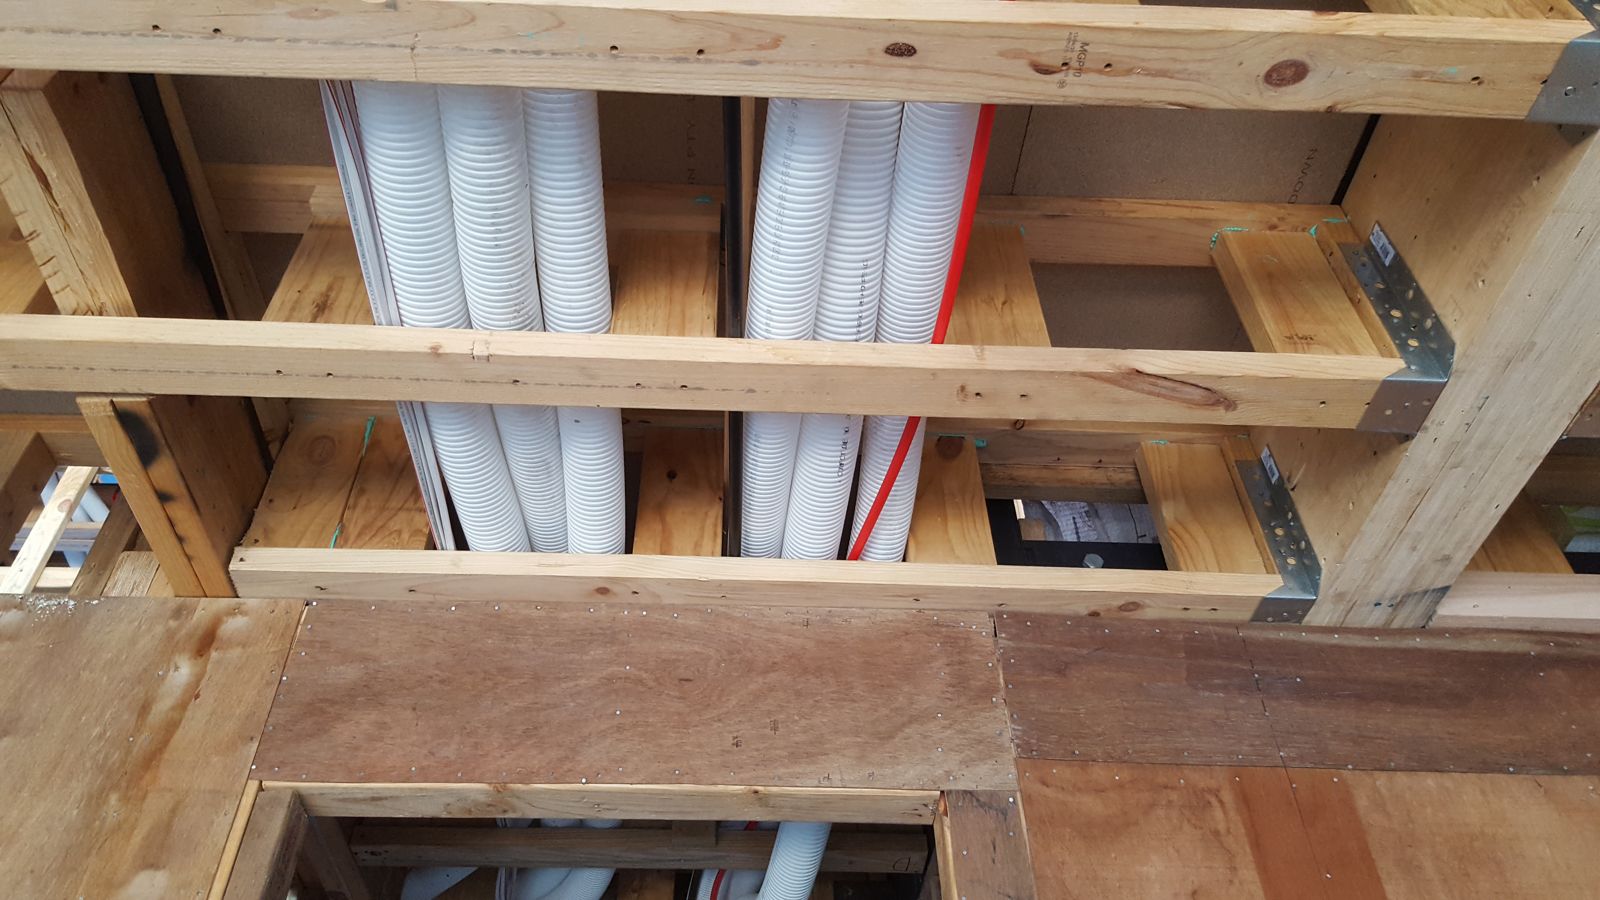
Ventilation ducts planned into the floor framing from day one.
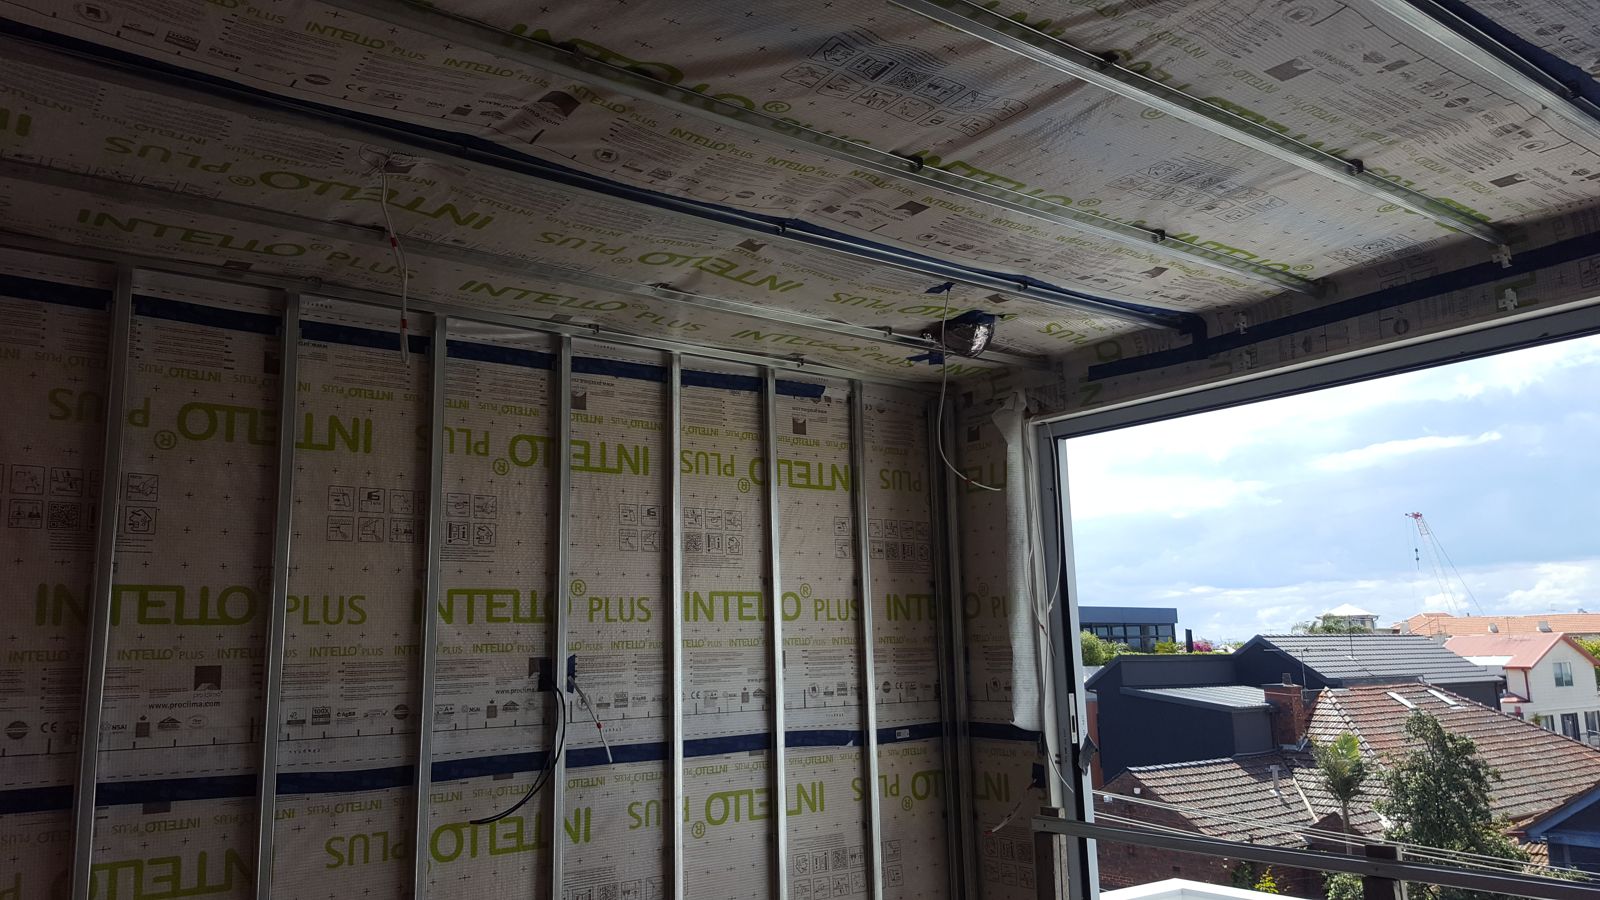
Metal battens over the membrane form a service cavity for cables and fixings.
Worth checking at this stage: the membrane is continuous and every pipe, duct and cable through it is taped. More on Passive House design.
Stage 7: Insulation and Linings
Insulation goes into the walls and ceilings, then the plasterboard closes everything in. Insulation only performs if it’s fitted properly — gaps, compressed batts and missing pieces around ducts all cut its real-world performance. After lining, none of it can be seen again.
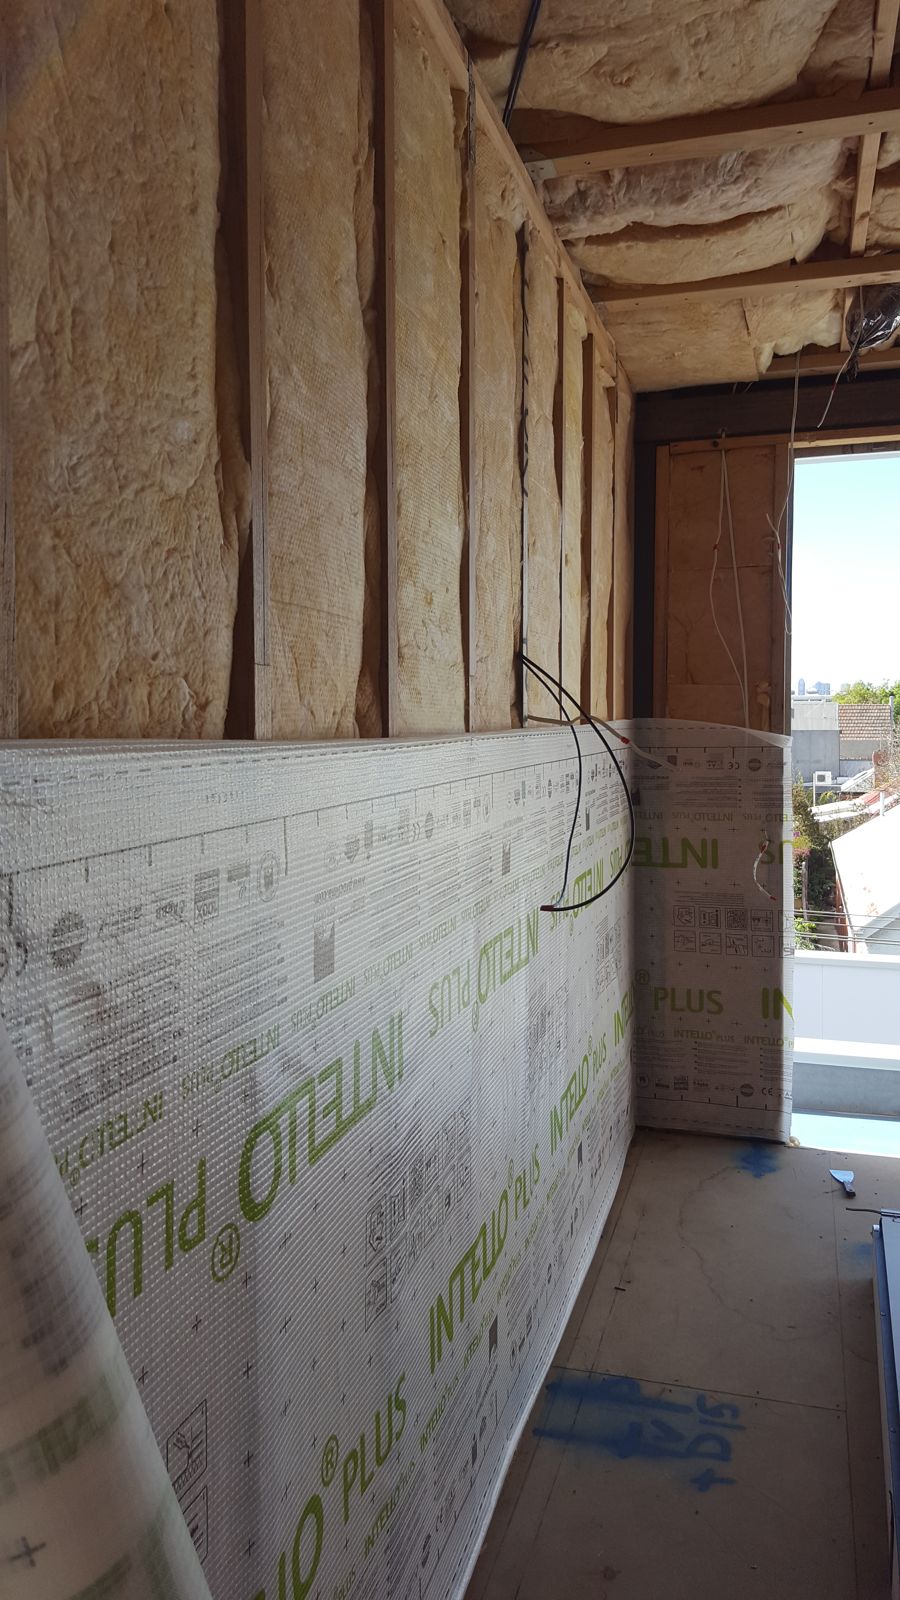
Batts fitted between the studs, with the membrane going on below.
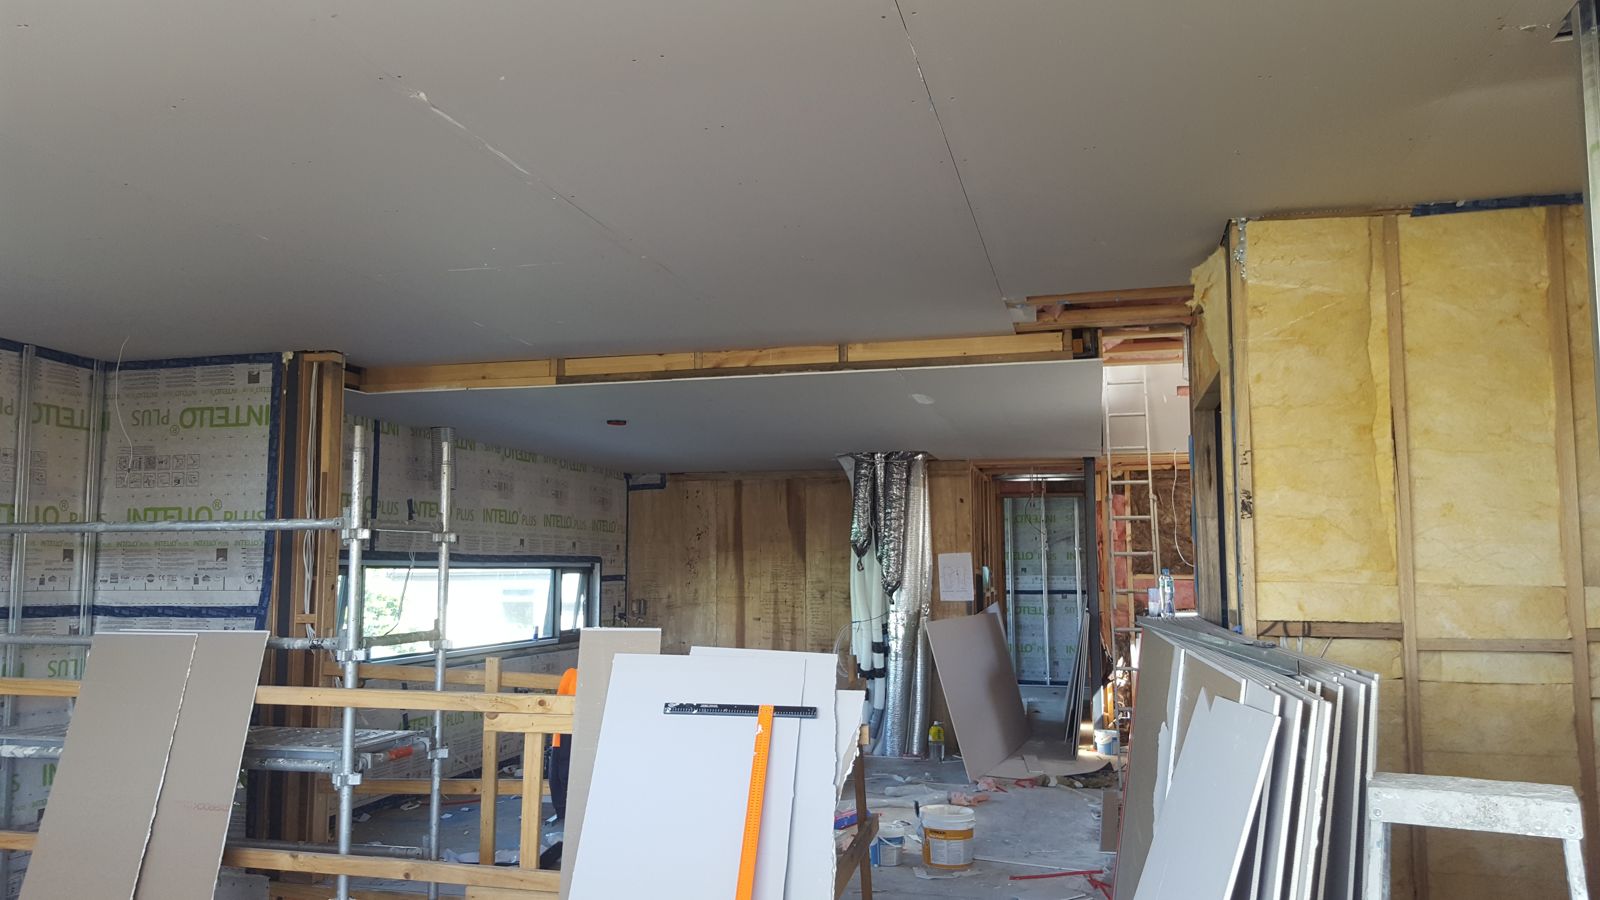
Plasterboard going up: the last look at everything inside the walls.
Worth checking at this stage: insulation fully fitted with no gaps, and the membrane complete, before a single sheet of plasterboard goes on.
Stage 8: Wet Areas
Bathrooms and laundries follow a set sequence: a substrate that sets the falls to the drain, a waterproof membrane, then the tiles, carried out to Australian Standard AS 3740. The tile is only the finish — the layers beneath are what keep water out of the structure.
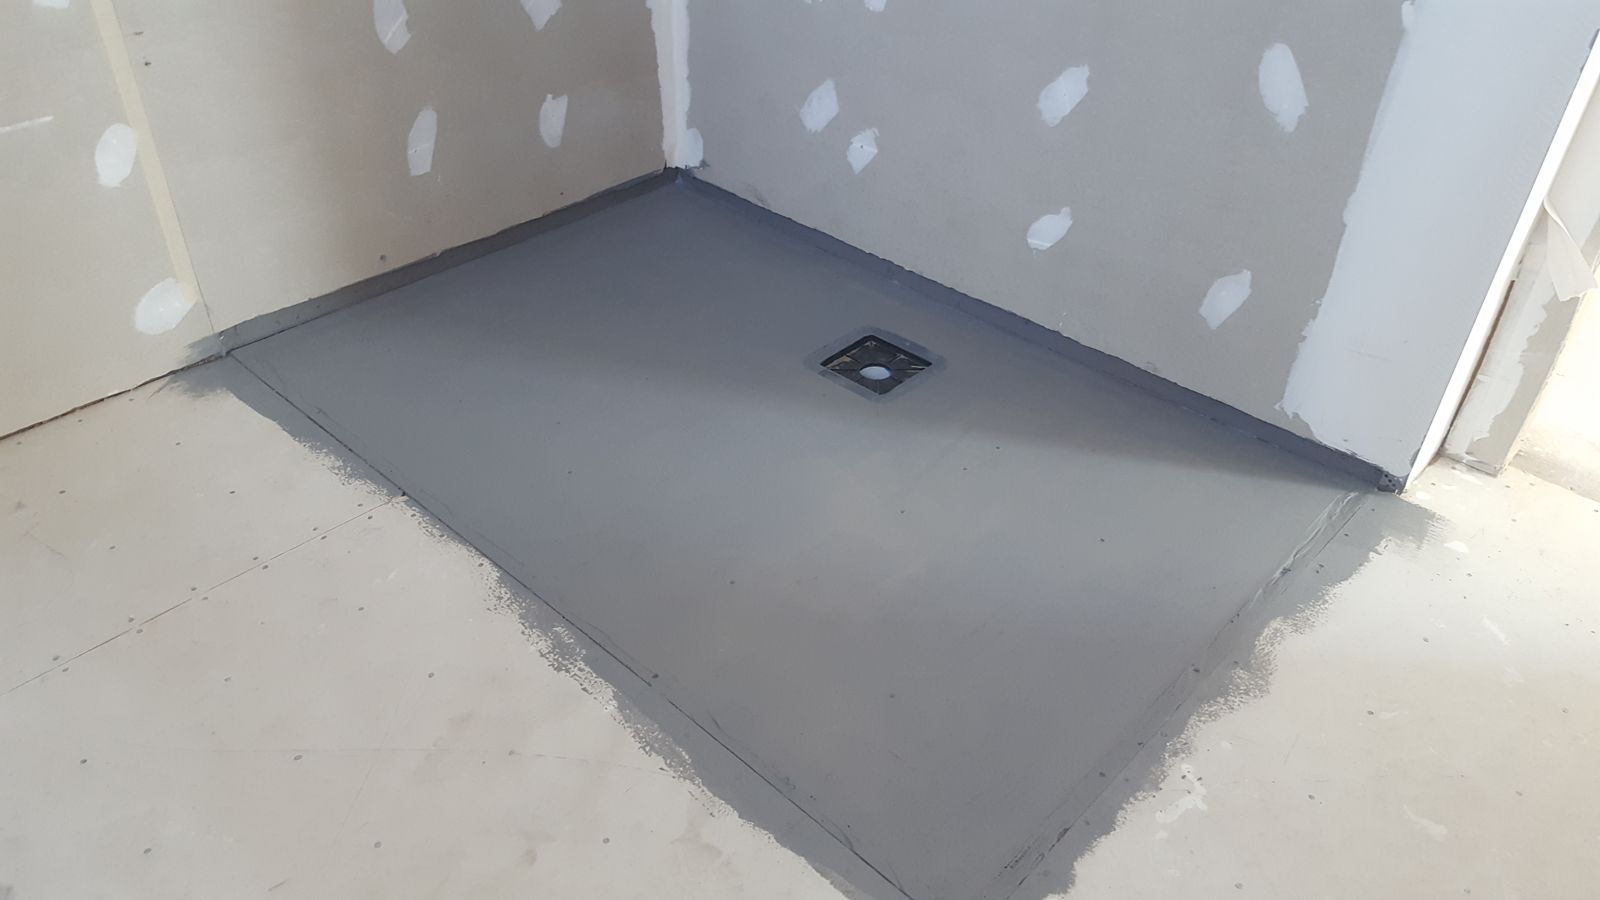
The wet-area substrate, with the waste sealed, before waterproofing.
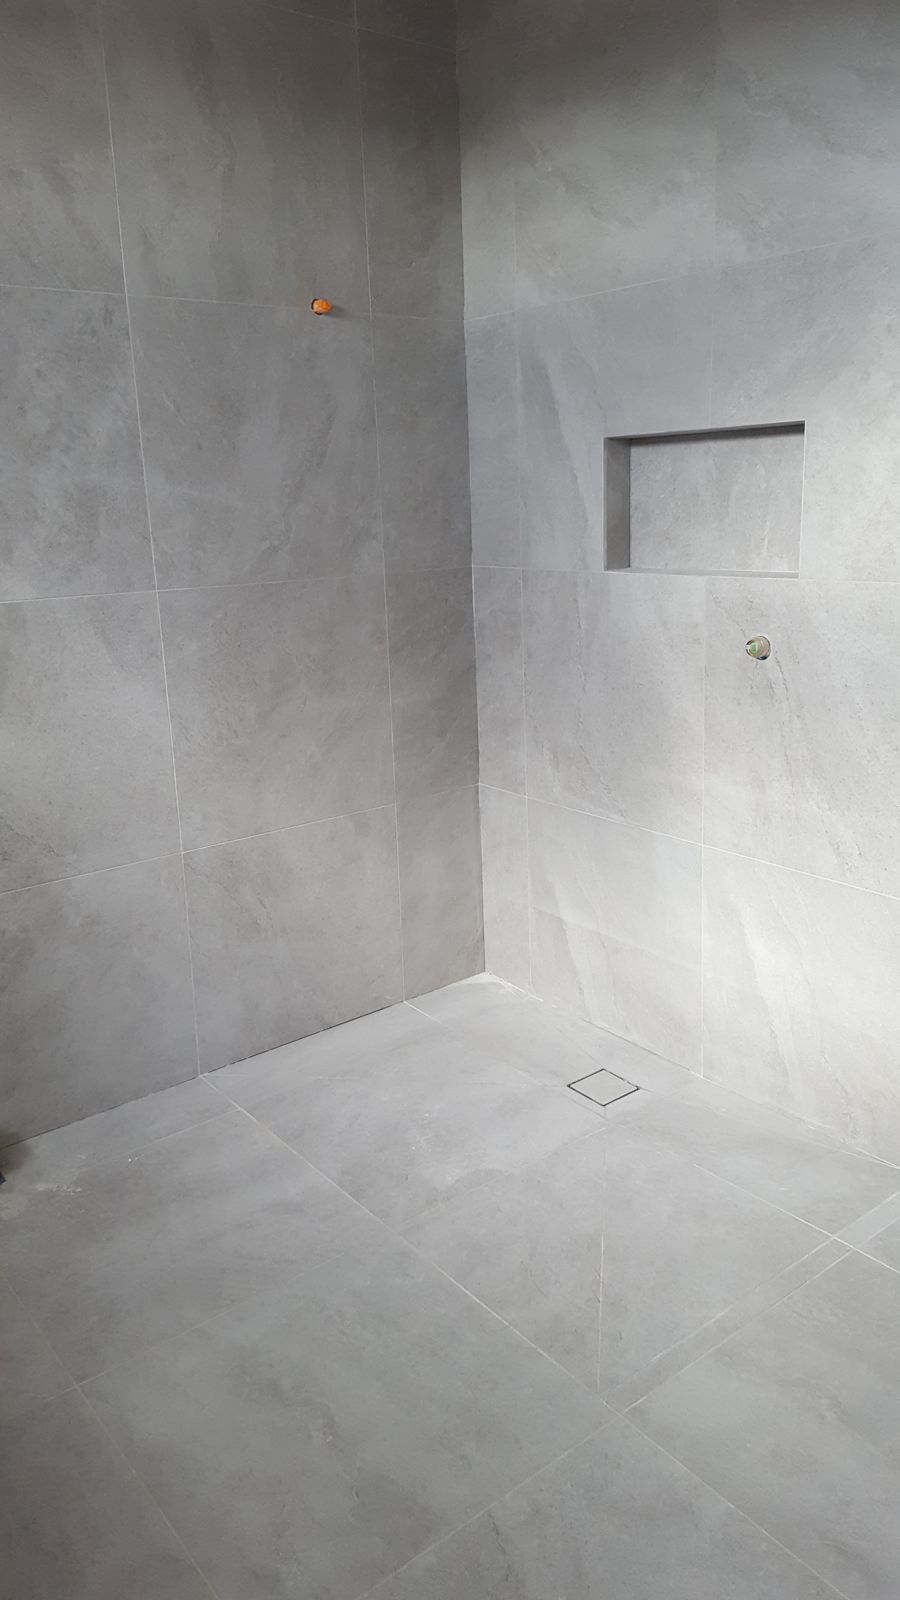
Diagonal cuts let large tiles fall to the drain.
Worth checking at this stage: falls to the waste, niche and fixture positions, and the finishes you selected.
Stage 9: Fit-Out and External Works
Joinery, stairs, fixtures and finishes go in, while outside the driveway, paths and landscaping take shape. Services running under the driveway follow the same rule as the slab: they go in before the concrete.
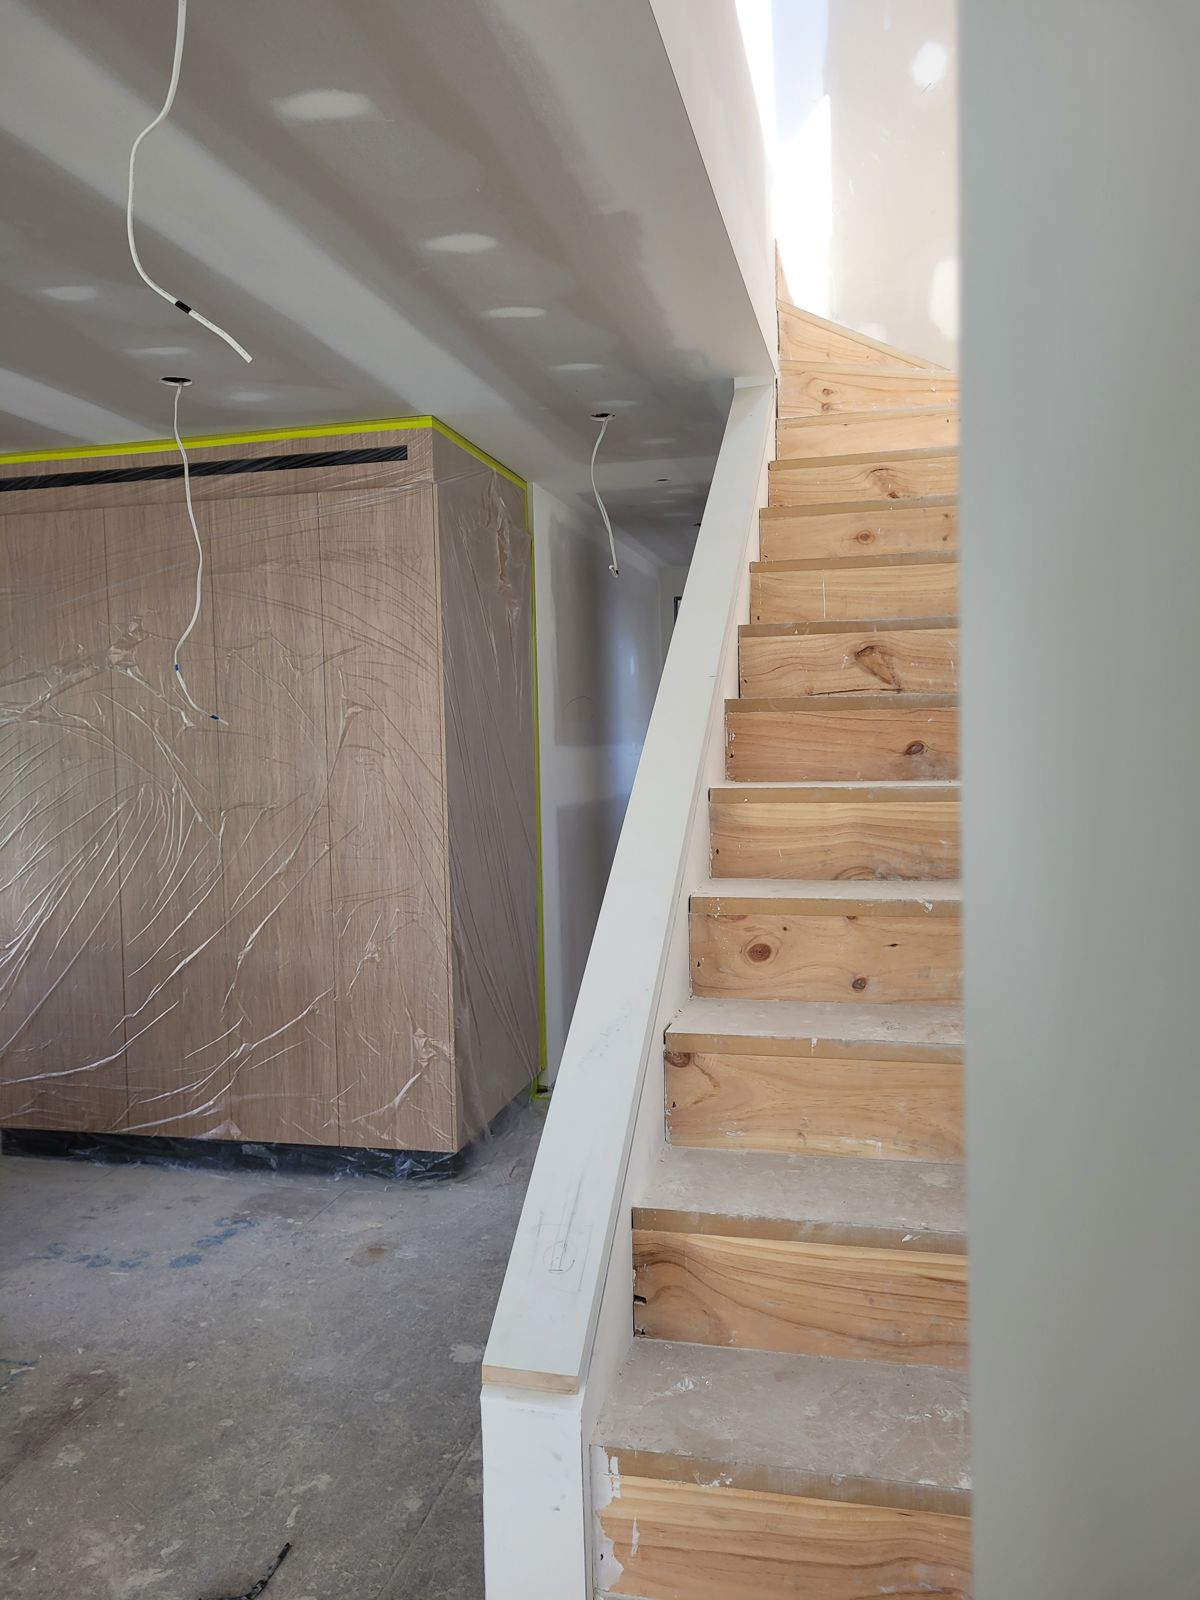
The stair and joinery going in, still protected.
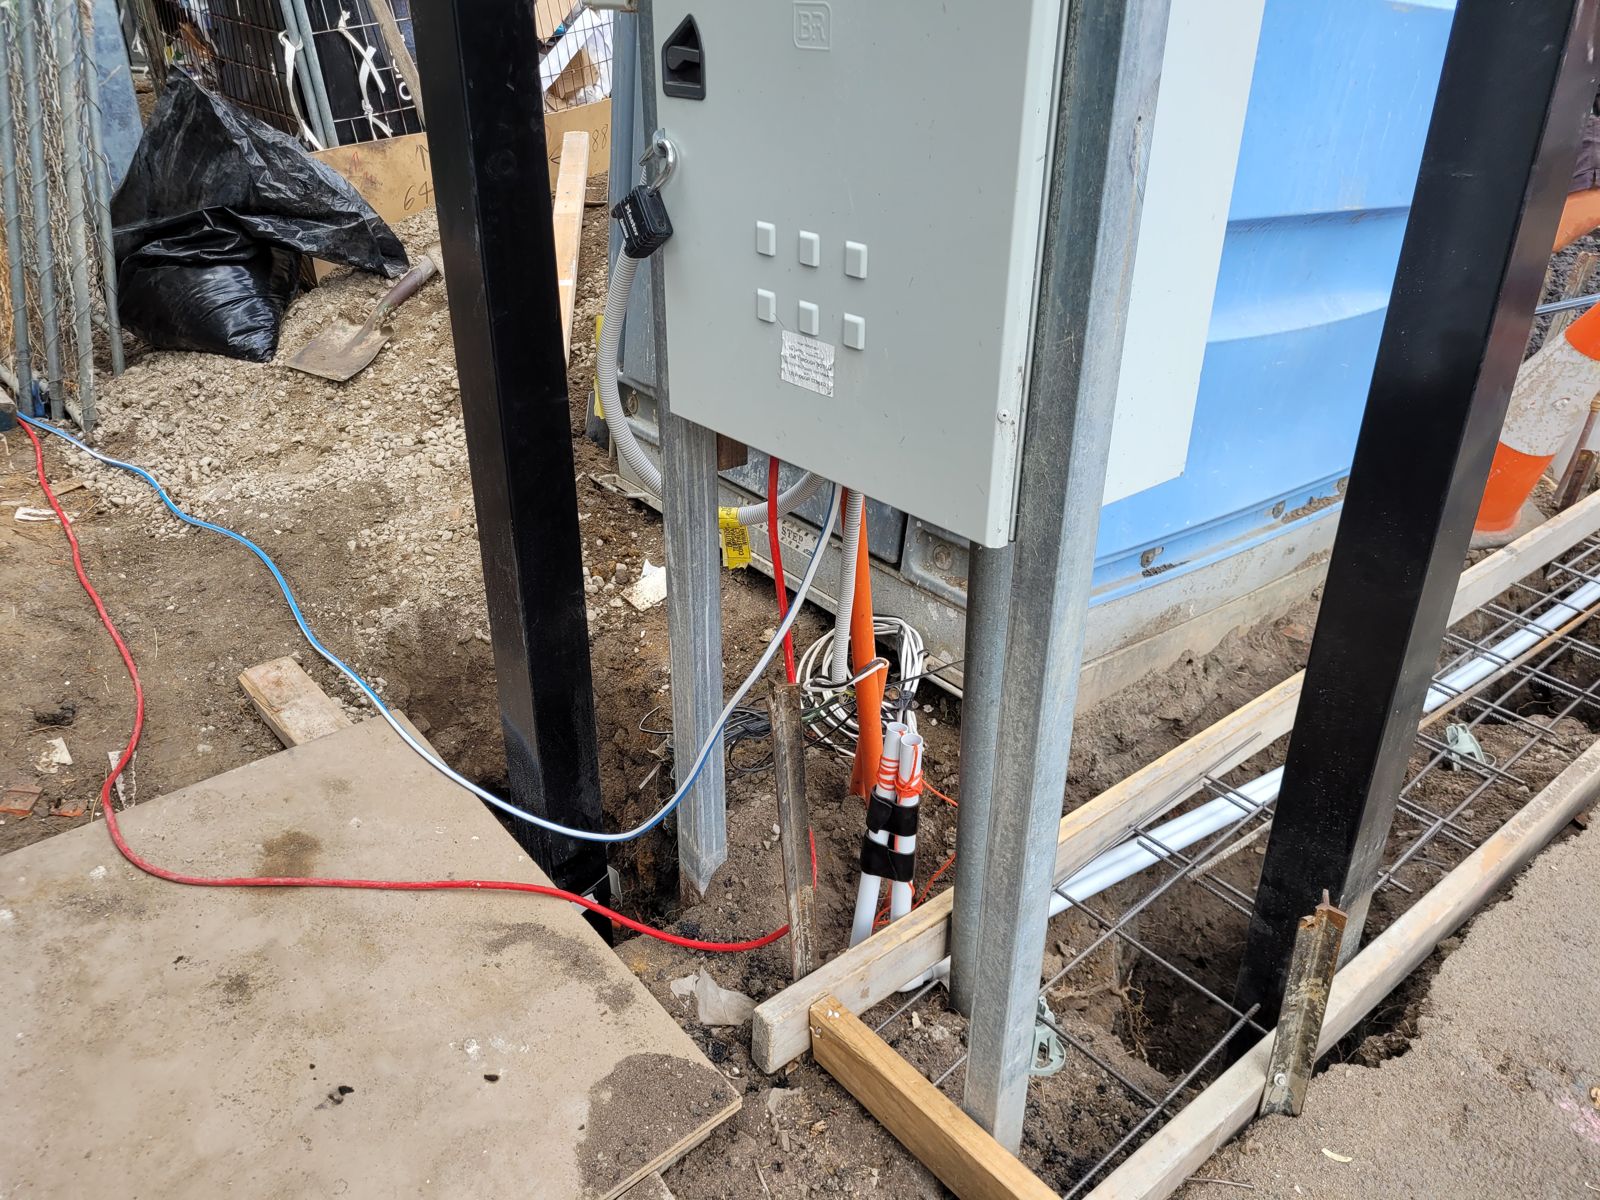
Conduits under the driveway before the pour.
Worth checking at this stage: joinery, finishes and fixtures against the selections schedule.
Stage 10: Handover
Before you move in, the building surveyor carries out the final inspection, and a new home needs an occupancy permit before it can be lived in. It’s also the moment to walk through the finished home against the design and your selections, and to list anything that needs attention before the builder hands over the keys.
Having the Build Checked Against Your Design
Most of the stages above end with something being covered up. If you’d like an independent check that the build is following your design at those points, I offer Design intent checks on request, as a charged service. They check the design, not compliance — the mandatory inspections remain with your building surveyor.
Sources: Based on a Mancini Design project in St Kilda (City of Port Phillip), photographed during construction; inspection stages per the Building and Plumbing Commission.